Candle Making Project
We had several large colored wine bottles as well as interesting local beer bottles from San Diego’s famous brew scene and we were looking for a fun project to repurpose them. Our first project was making candles. We plan on doing another project, making planters for a succulent or indoor garden (we’ll post on this at a later time). This is really a two step projects when you consider the glass cutting and the candle making are each a days worth of work with an elementary school helper. I’ll list all the major supplies that we used followed by the process in two part that we used to make the candles. Finally I’ll post a short review from my daughter Kate (10 yo) who helped with the candle making part of the project.
Supplies:
Glass cutting:
Various empty bottles
Candle Making:
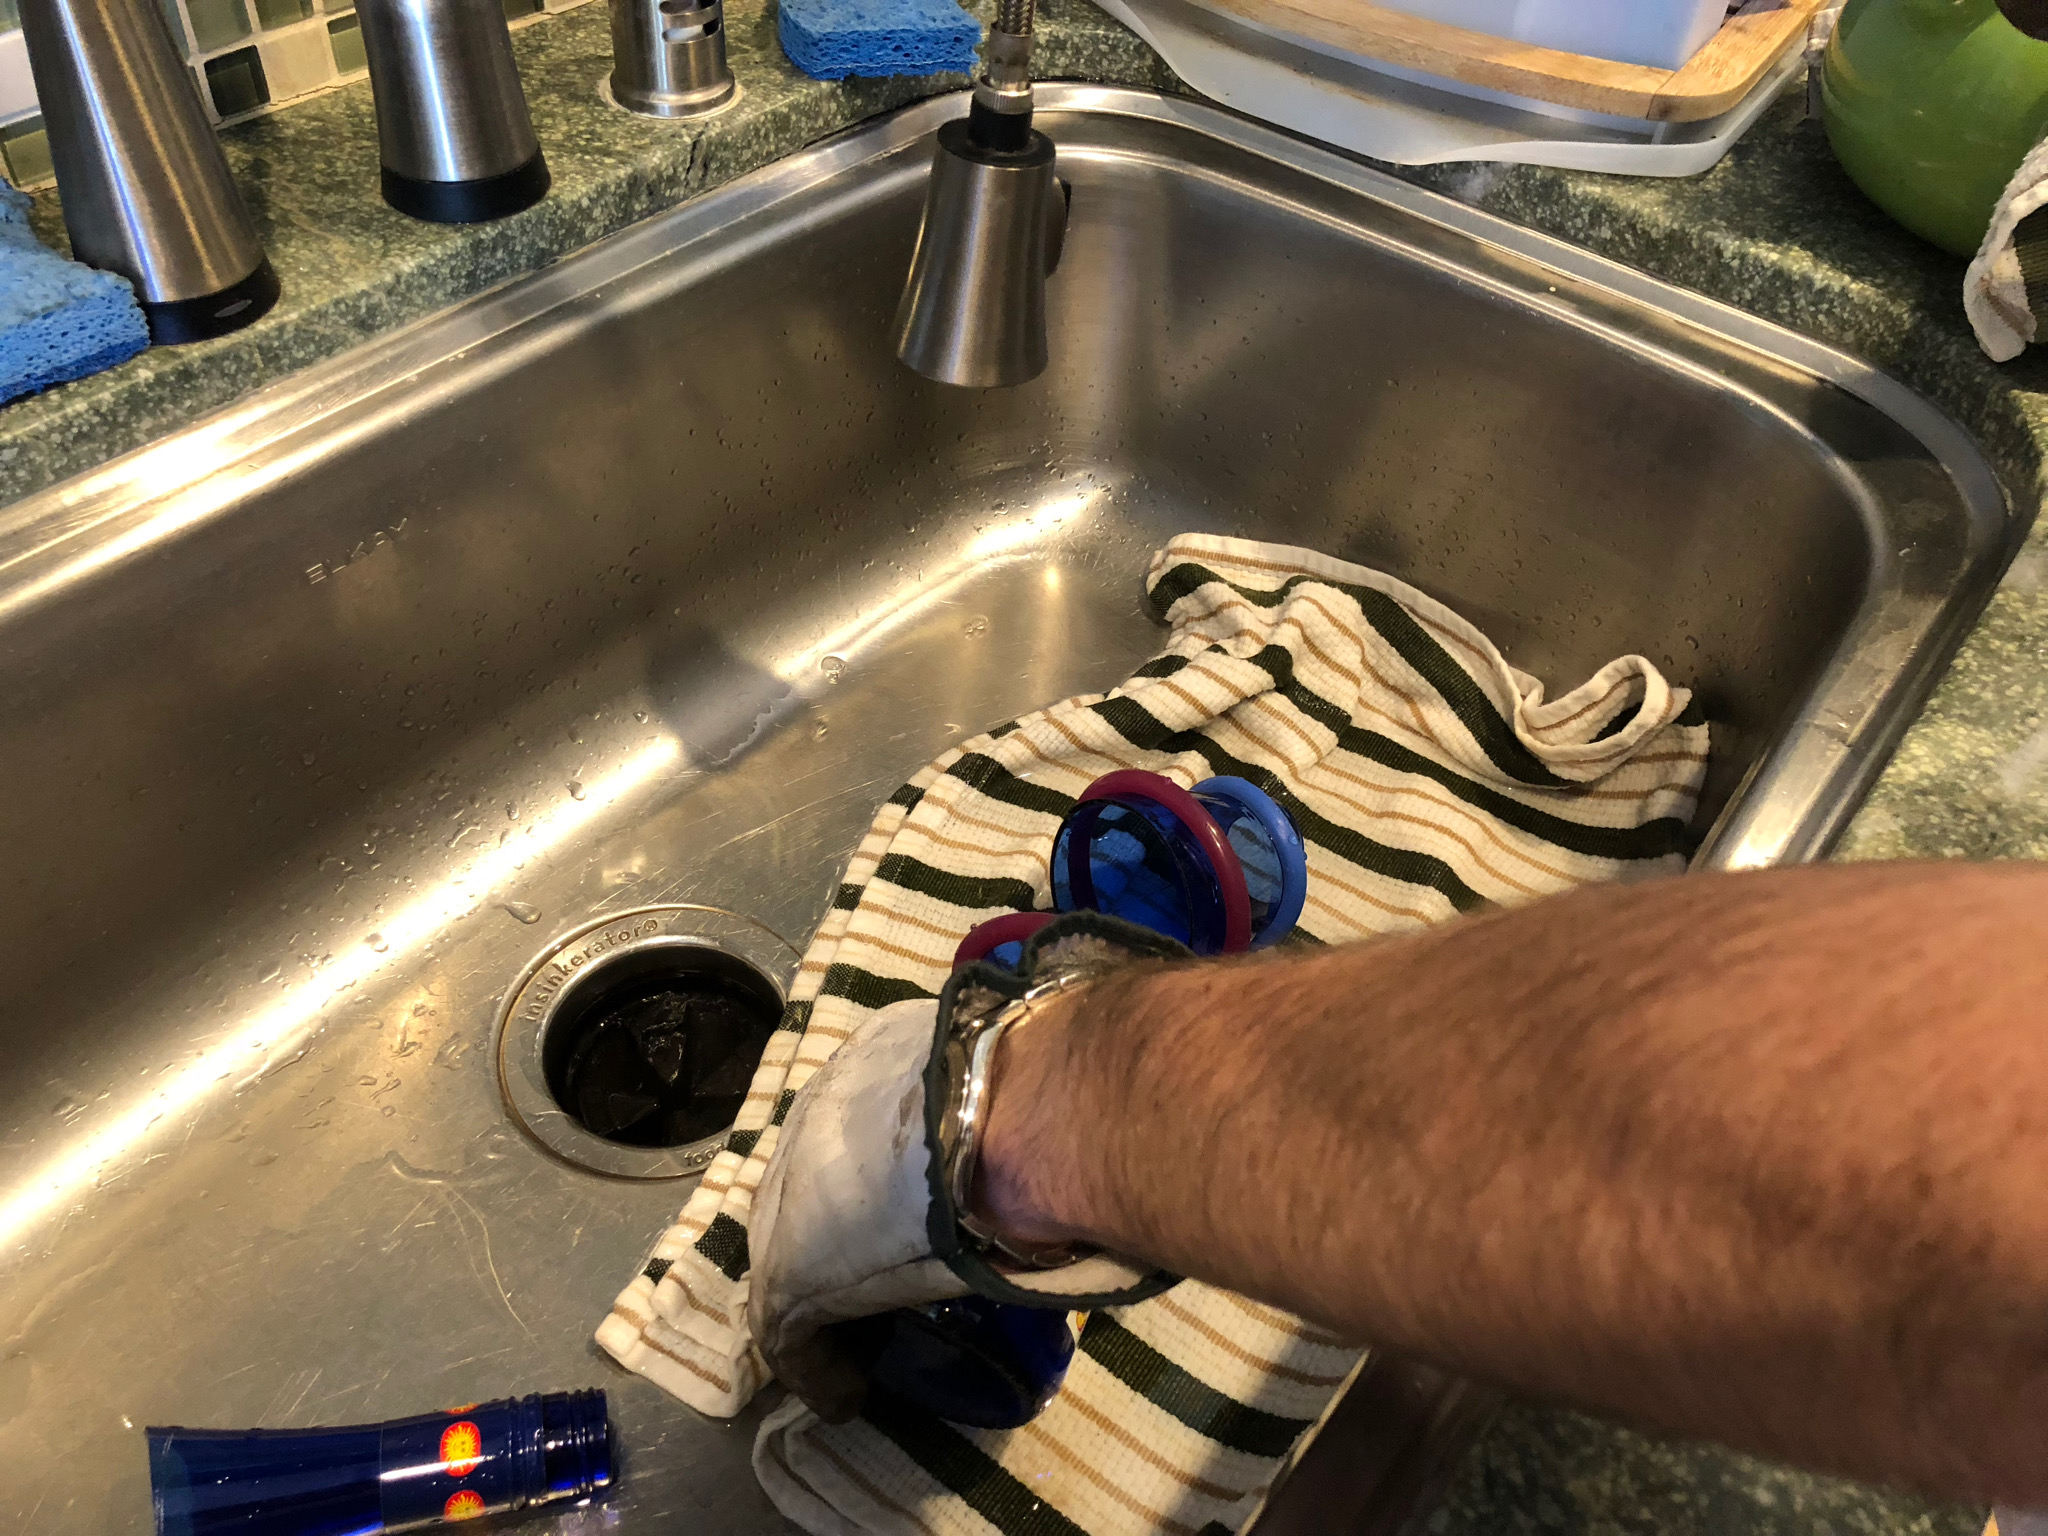
Bottle cutting process:
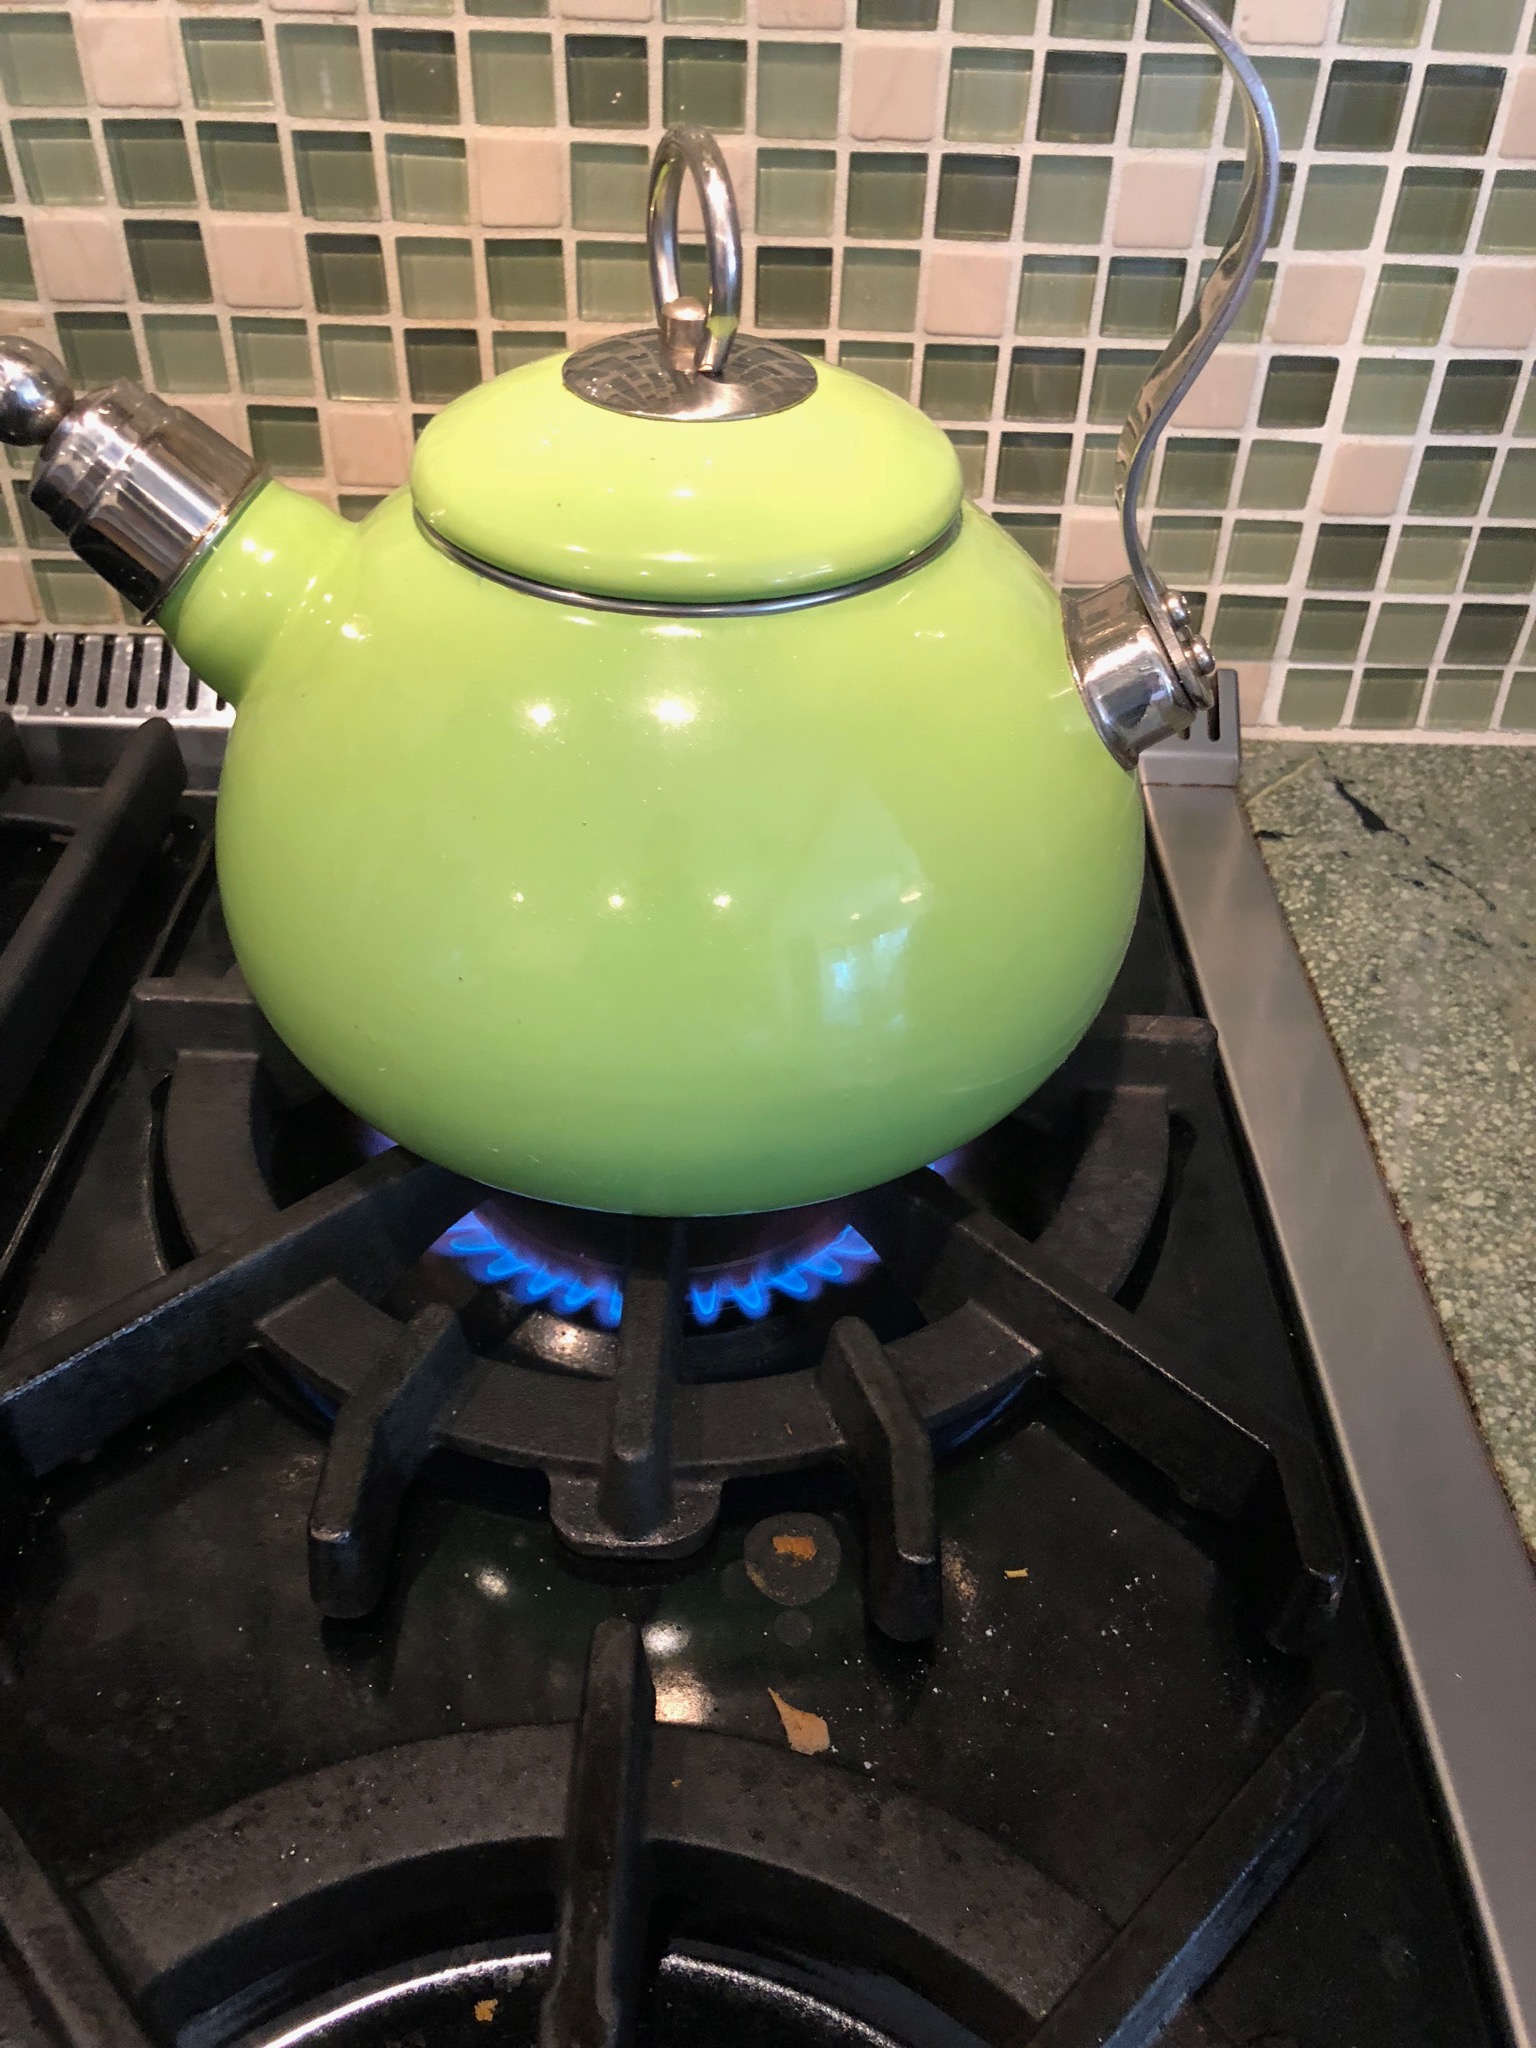
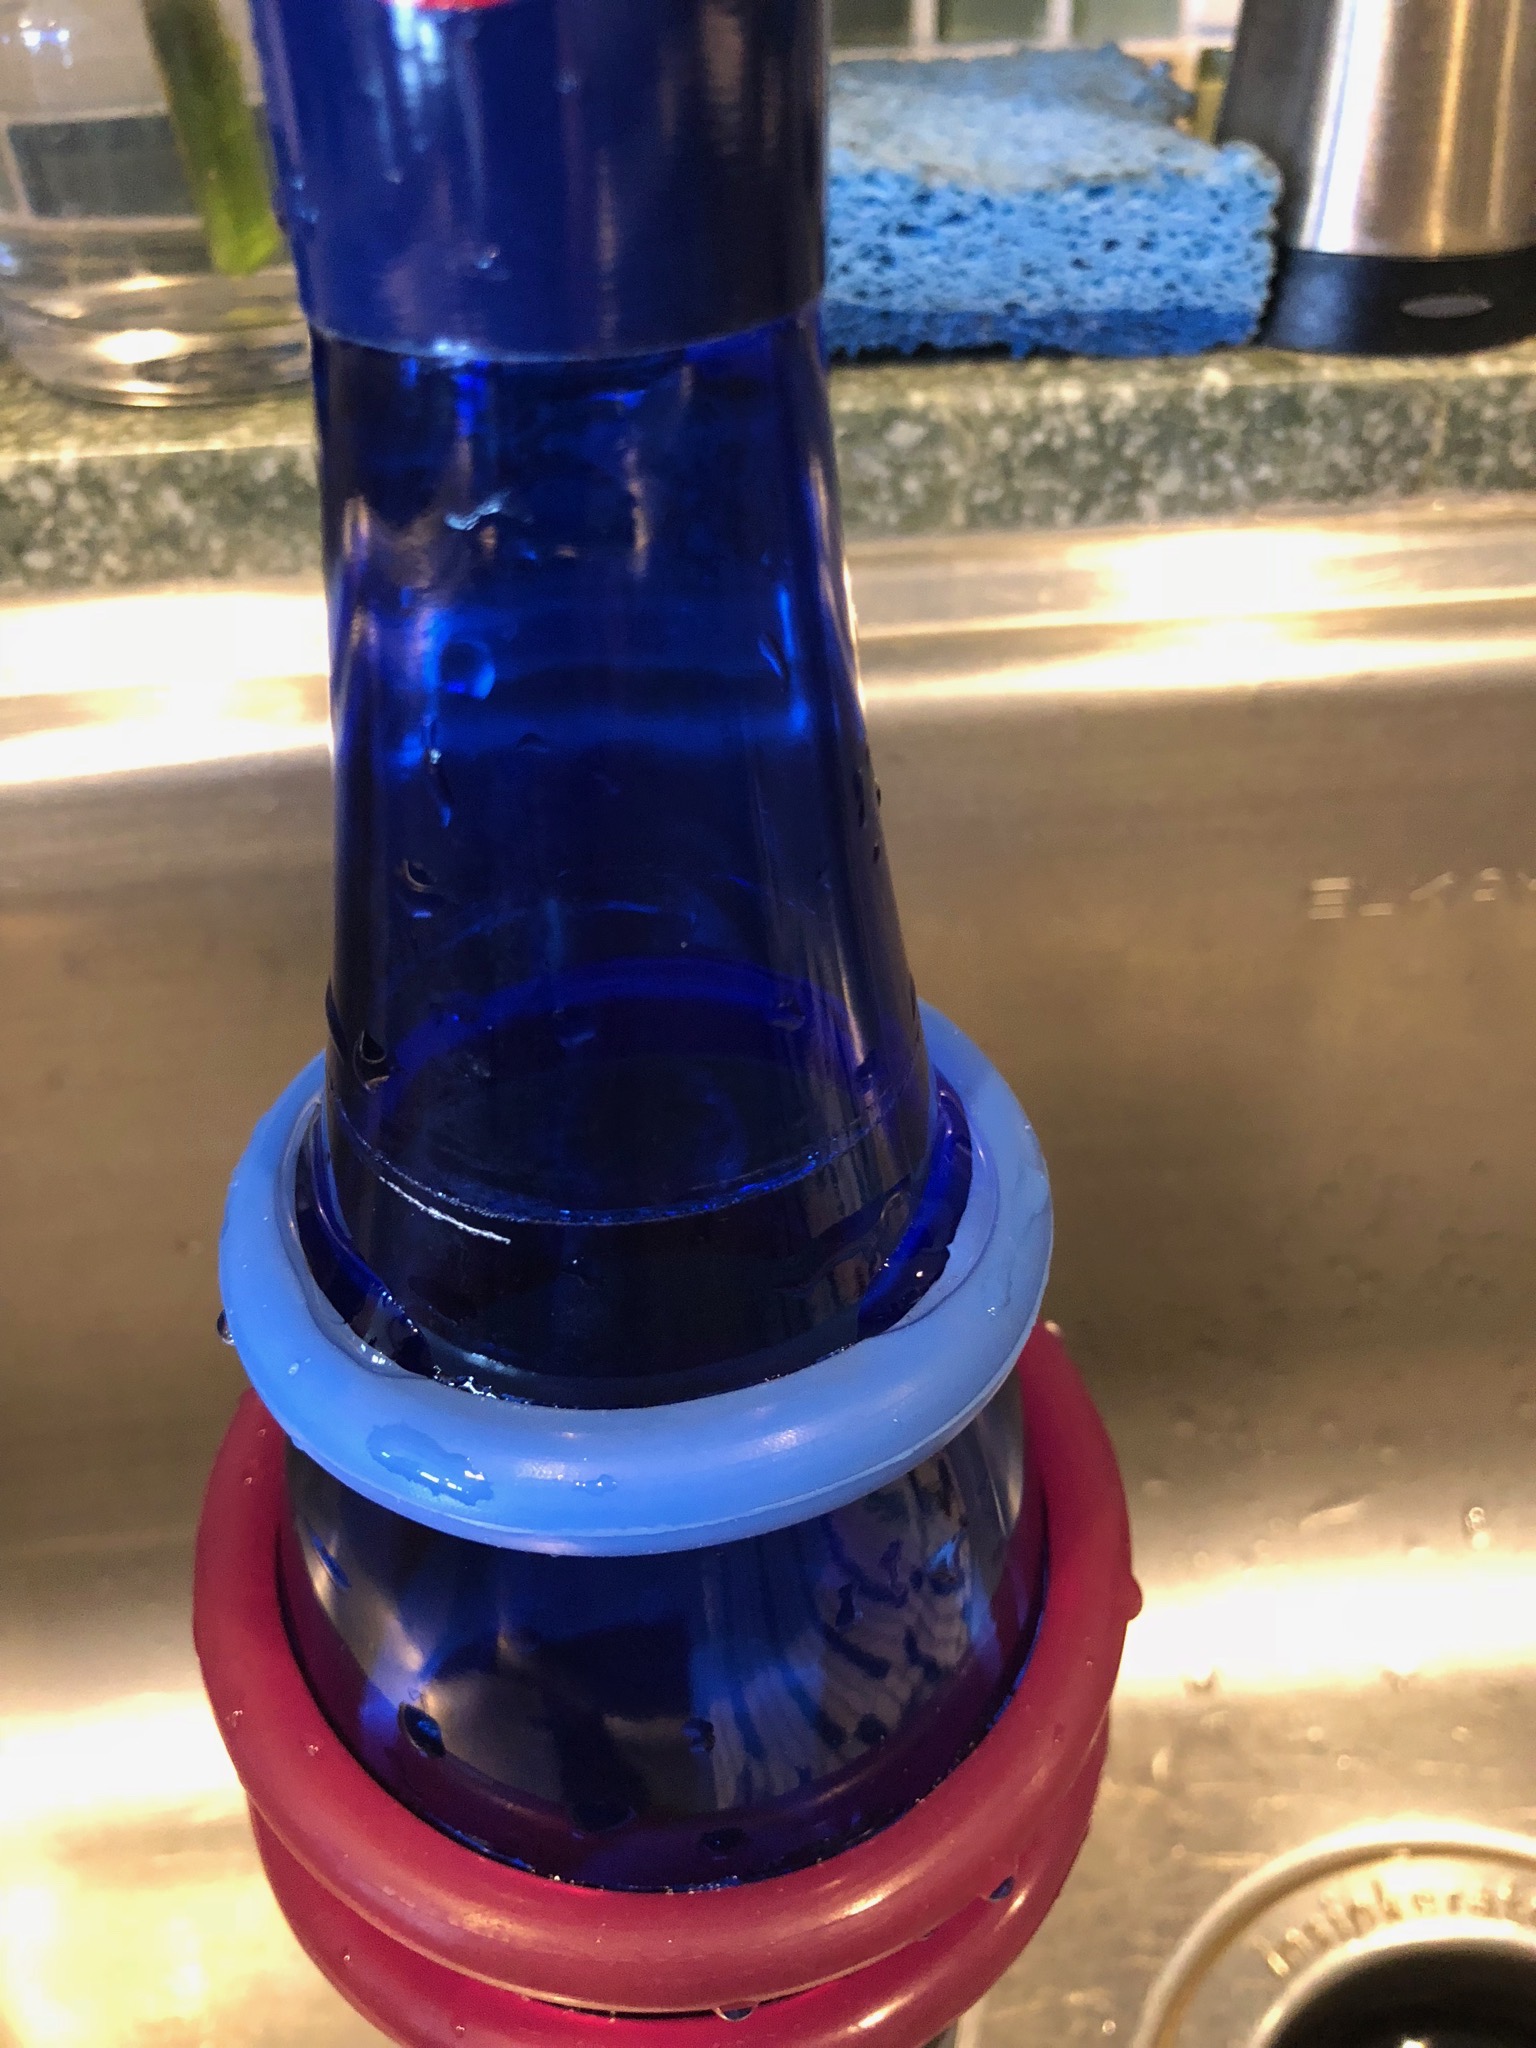
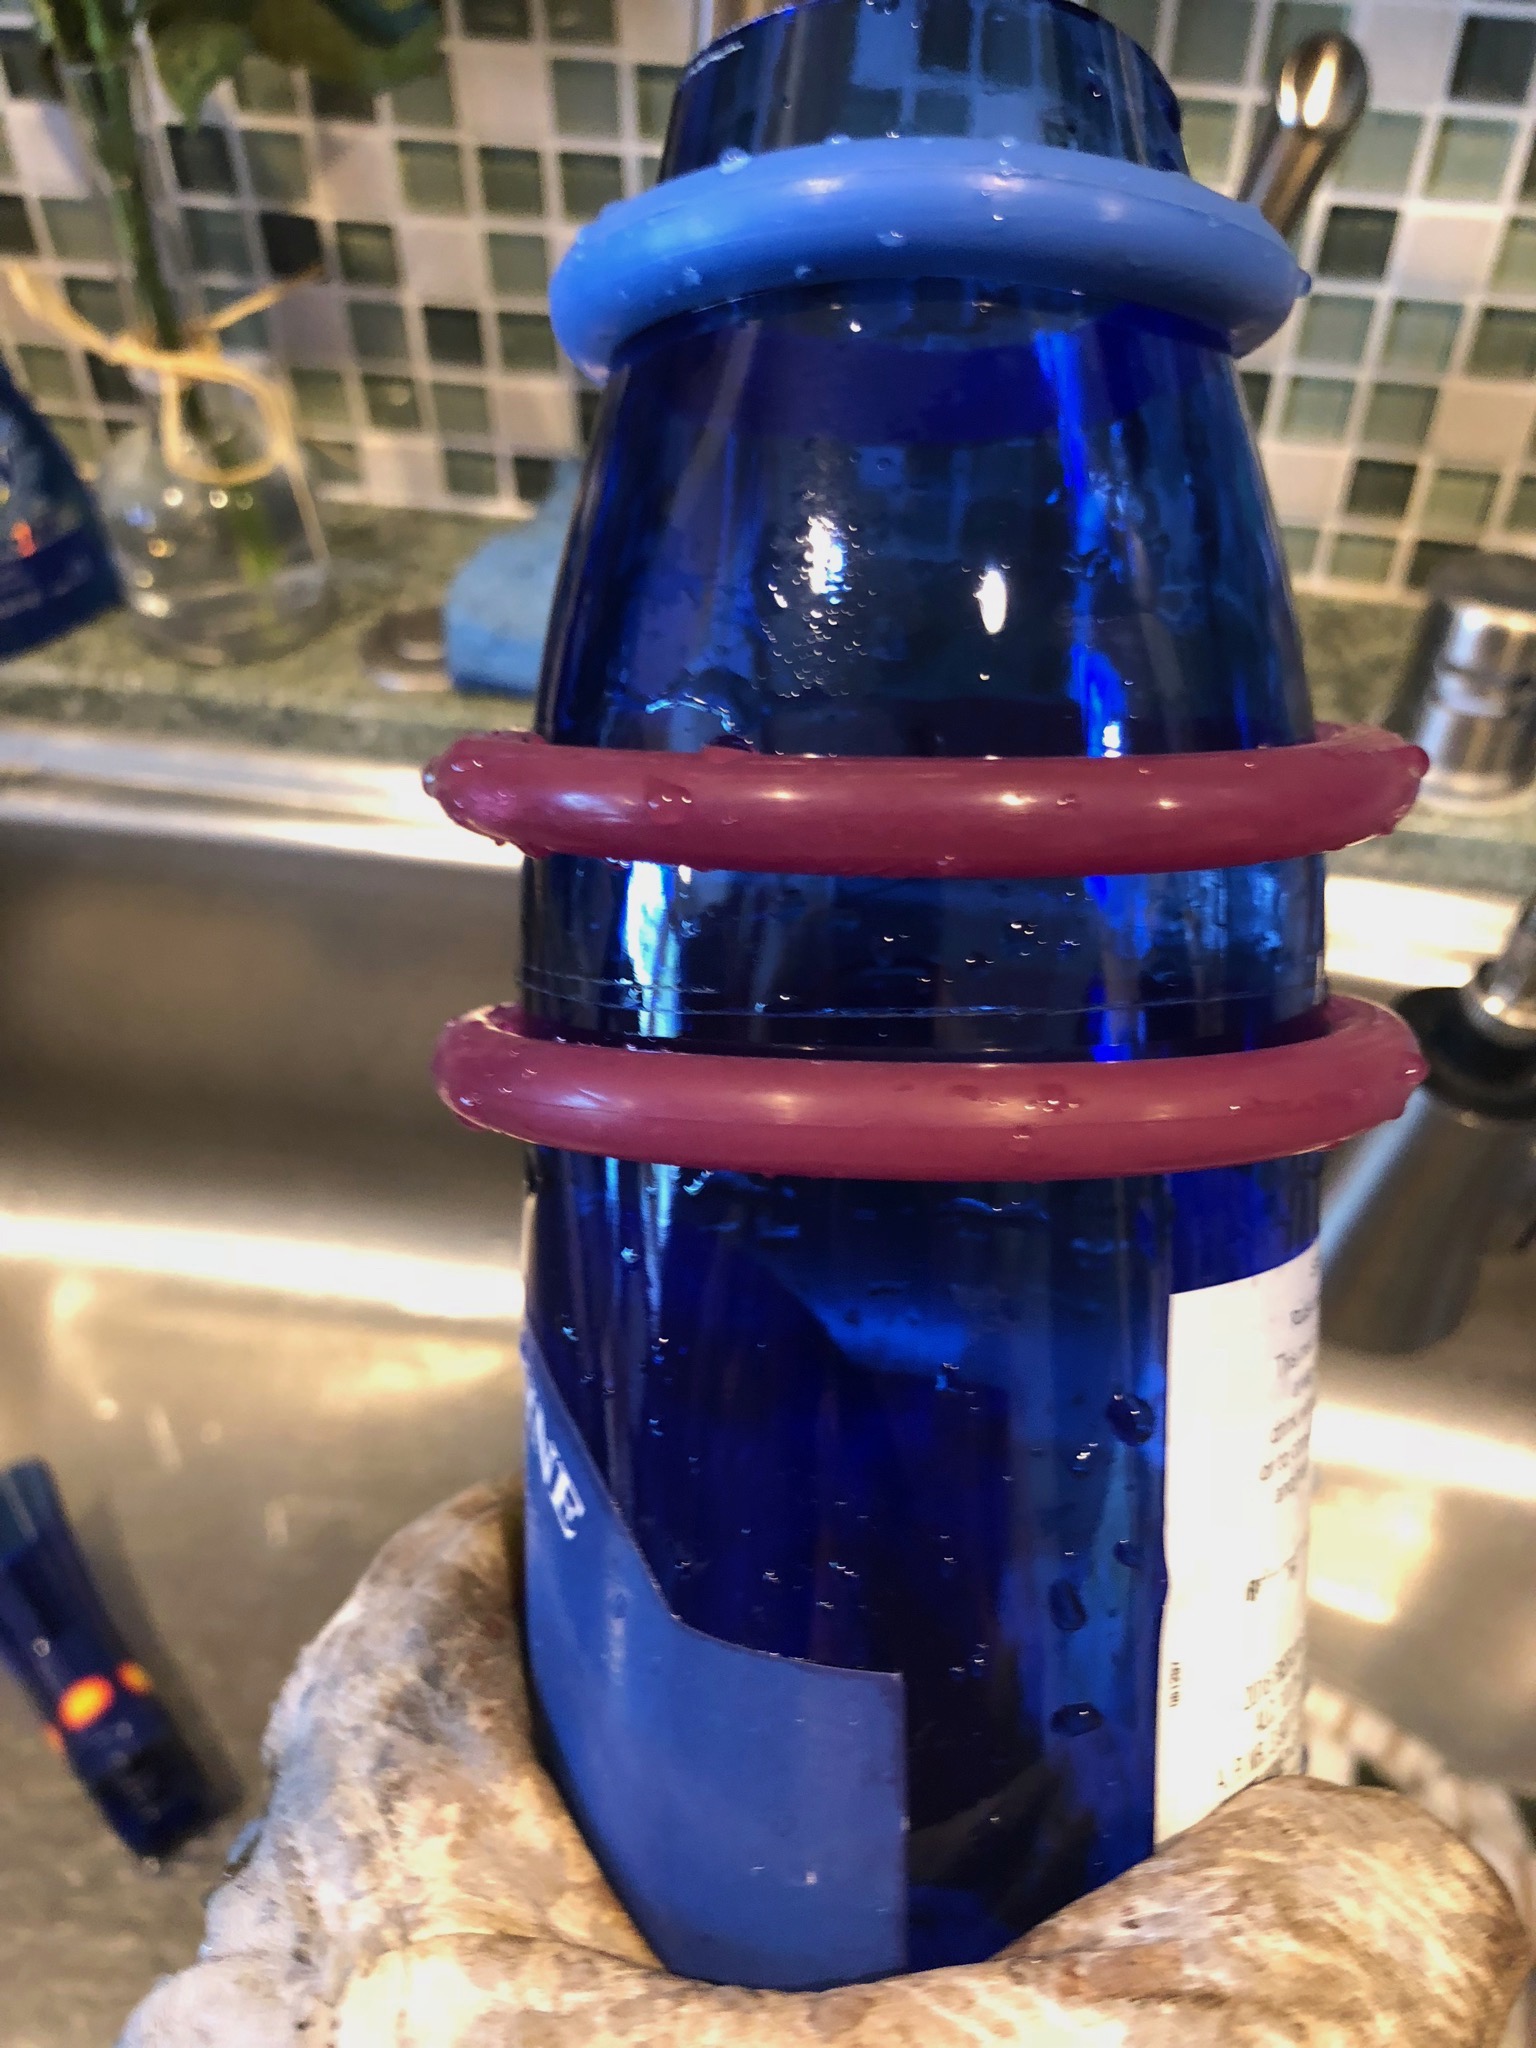
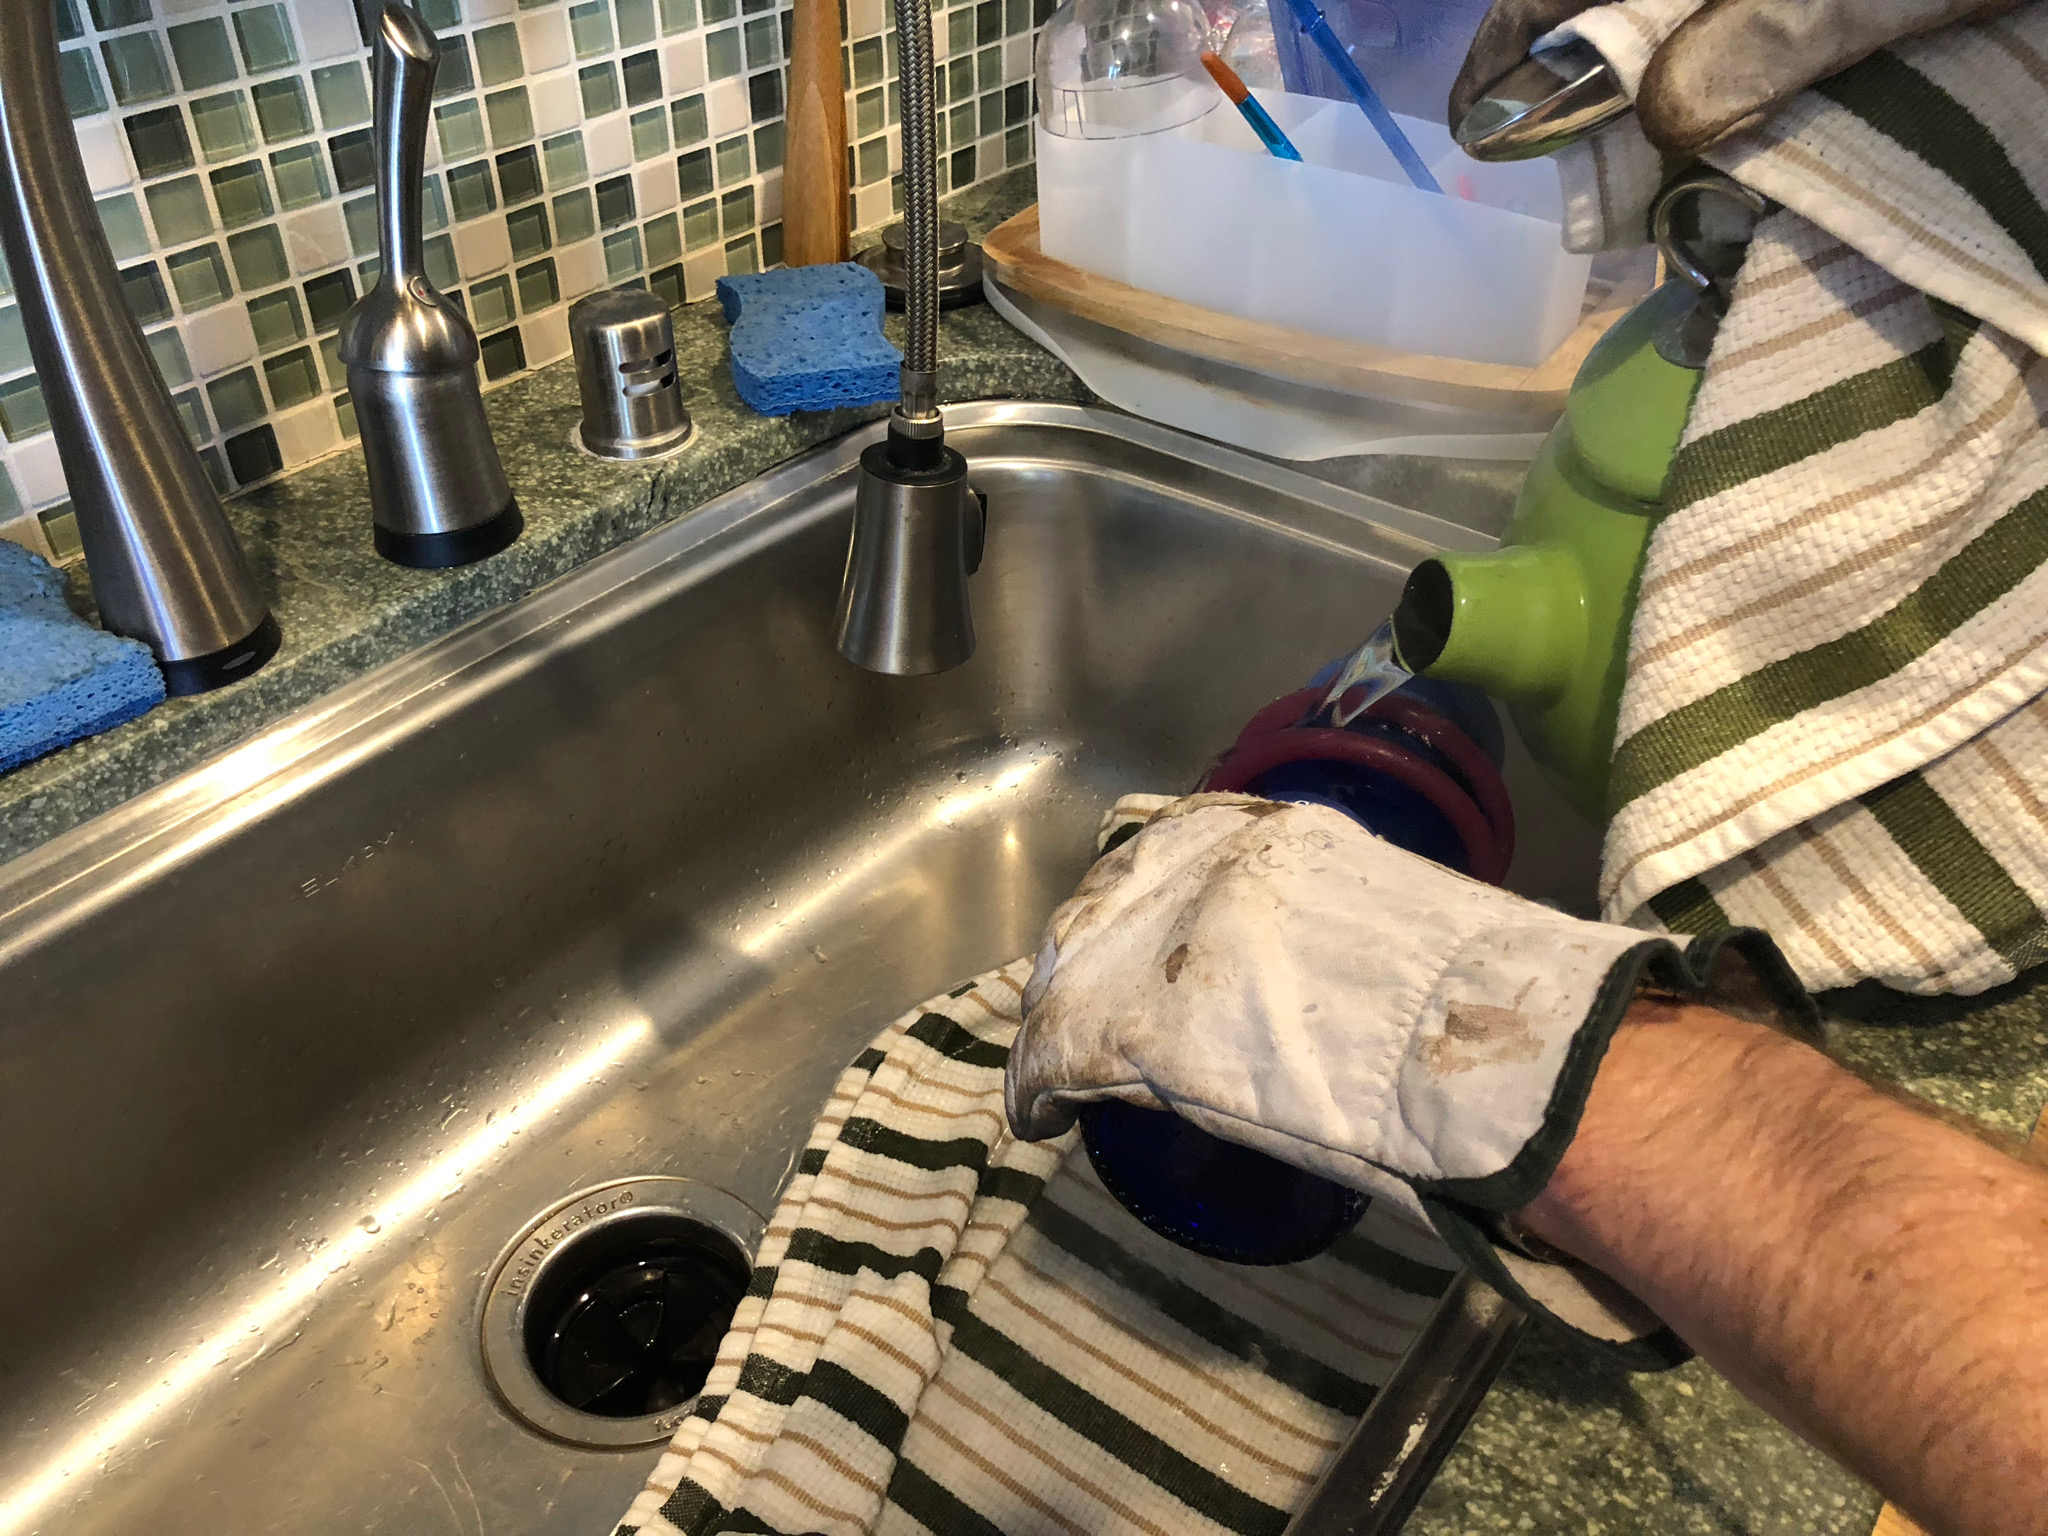
I used the Kinkajou bottle cutting system a link to there instructional video is here . It basically involves scoring the bottle with there glass cutter while you boil some water. Once the glass is scored you place the silicon bands proximal and distal to the score mark. Next you heat the scored glass by pouring boiling water between the silicon bands followed by running cold water over it to shock the glass and cause it to break. I used leather gloves and did this over a bowl placed in my sink to try to minimize the chance of making a dangerous mess. After the glass is separated the edges are very sharp and I sanded them smooth with 120 grit sandpaper. If you desire a soother finish on the edges you can use high grit papers to achieve a near mirror like polish. I kept my gloves on for this part of the process.
Candle Making process:
We used a double boiler method and this video for inspiration. Kate and I placed about 1.5 pounds of wax in the pour pot. Once it was melted we added the entire 10ml of scented oils to the batch. This resulted in very lightly scented candles. If you like your scents stronger I would suggest doubling the amount of scented oils. We prepared out bottle by placing a double sided sticker to the bottom of the wick and used a dowel to help adhere it to the bottom of the glass. We then poured the wax into the glasses once it had cooled a bit and had just begun to get cloudy. Finally we attached a wick holder to keep the wick centered on the glass. Once they cooled they were ready to burn!
Kate’s review:
Making candles was surprisingly fun. Waiting for the wax to melt was kind of boring but other than that it was fun. Choosing scents for each batch and putting the wicks in is fun. Definitely something I would recommend for a father daughter bonding activity.